For this project, I worked with a few friends to create a machine that can dispense poker chips to make our poker nights much easier to start. The machine uses stepper motors connected to a system of H-Bridges, ATMega328P's, MAX7221 display drivers, 7 segment displays and buttons to produce a seamless vending experience.
Poker Chip Vending Machine
Summary Video
Design
The chassis of the system is constructed of laser-cut MDF which is glued together like 3D puzzle pieces. The main control board is mounted to the side through a cutout and bolted in. The top of the system uses a 3D-printed holder with PVC tubes to contain the poker chips. which are pushed out by 3D-printed linkages connected to the motors.
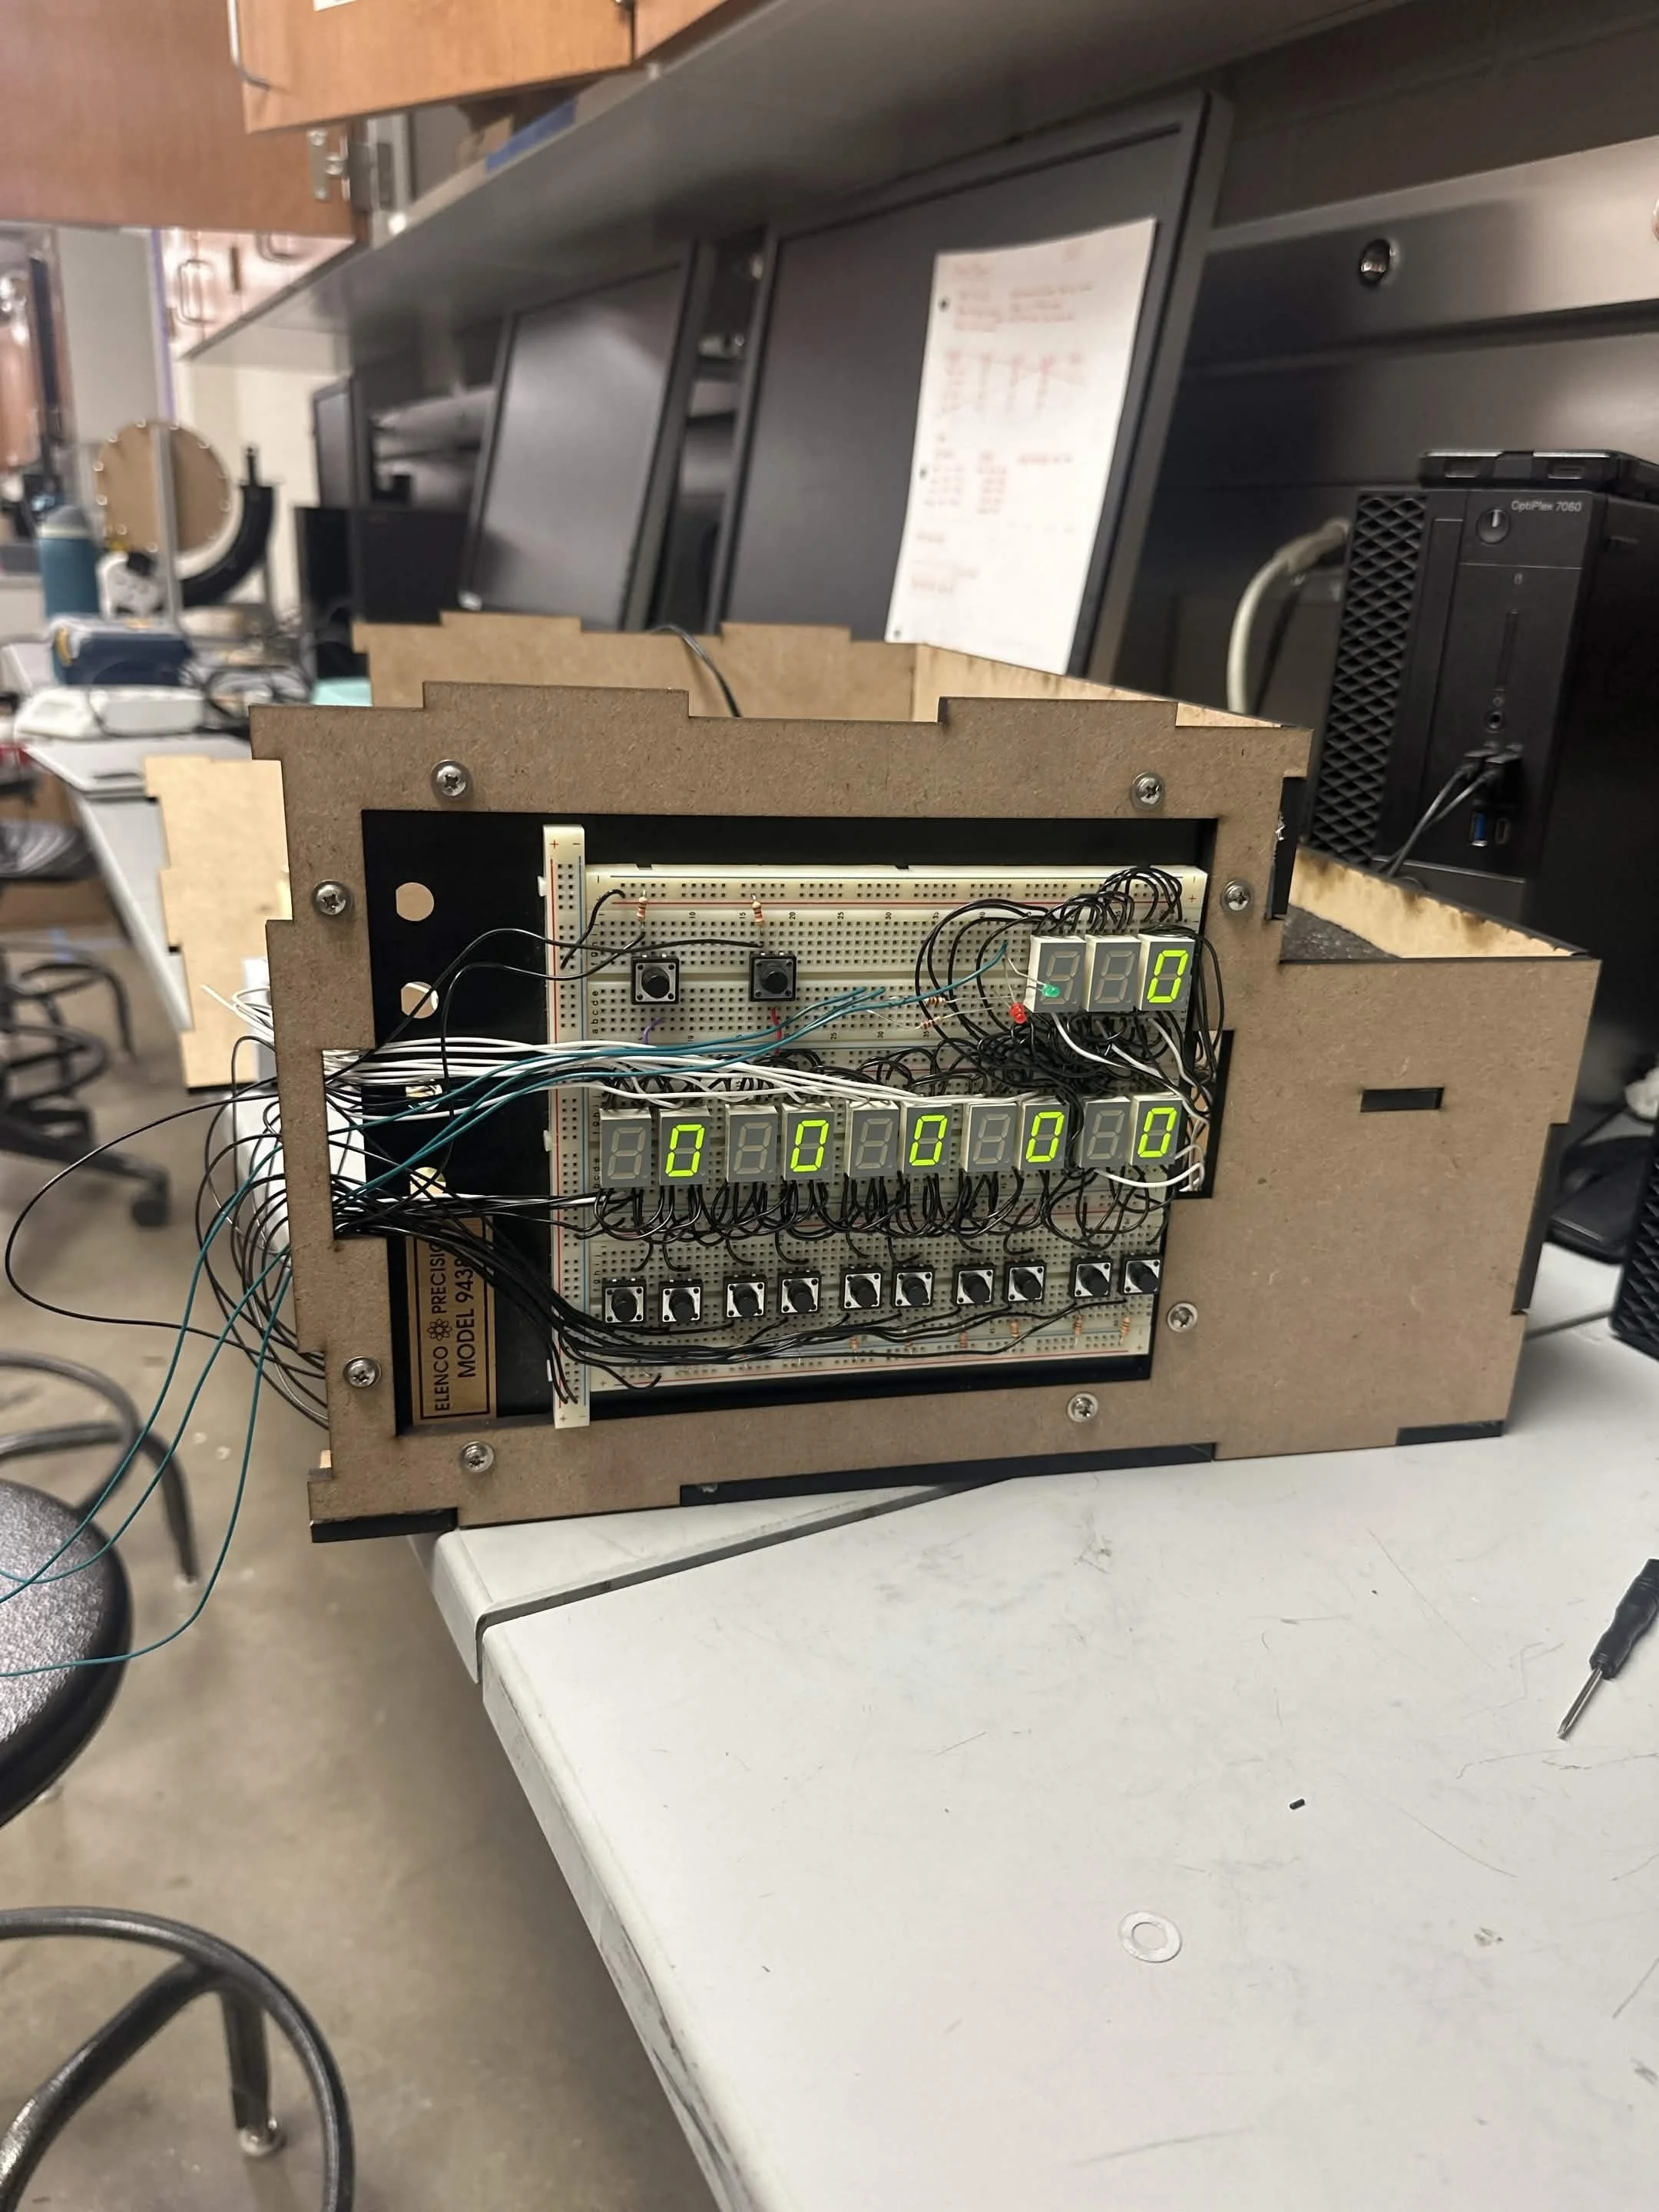
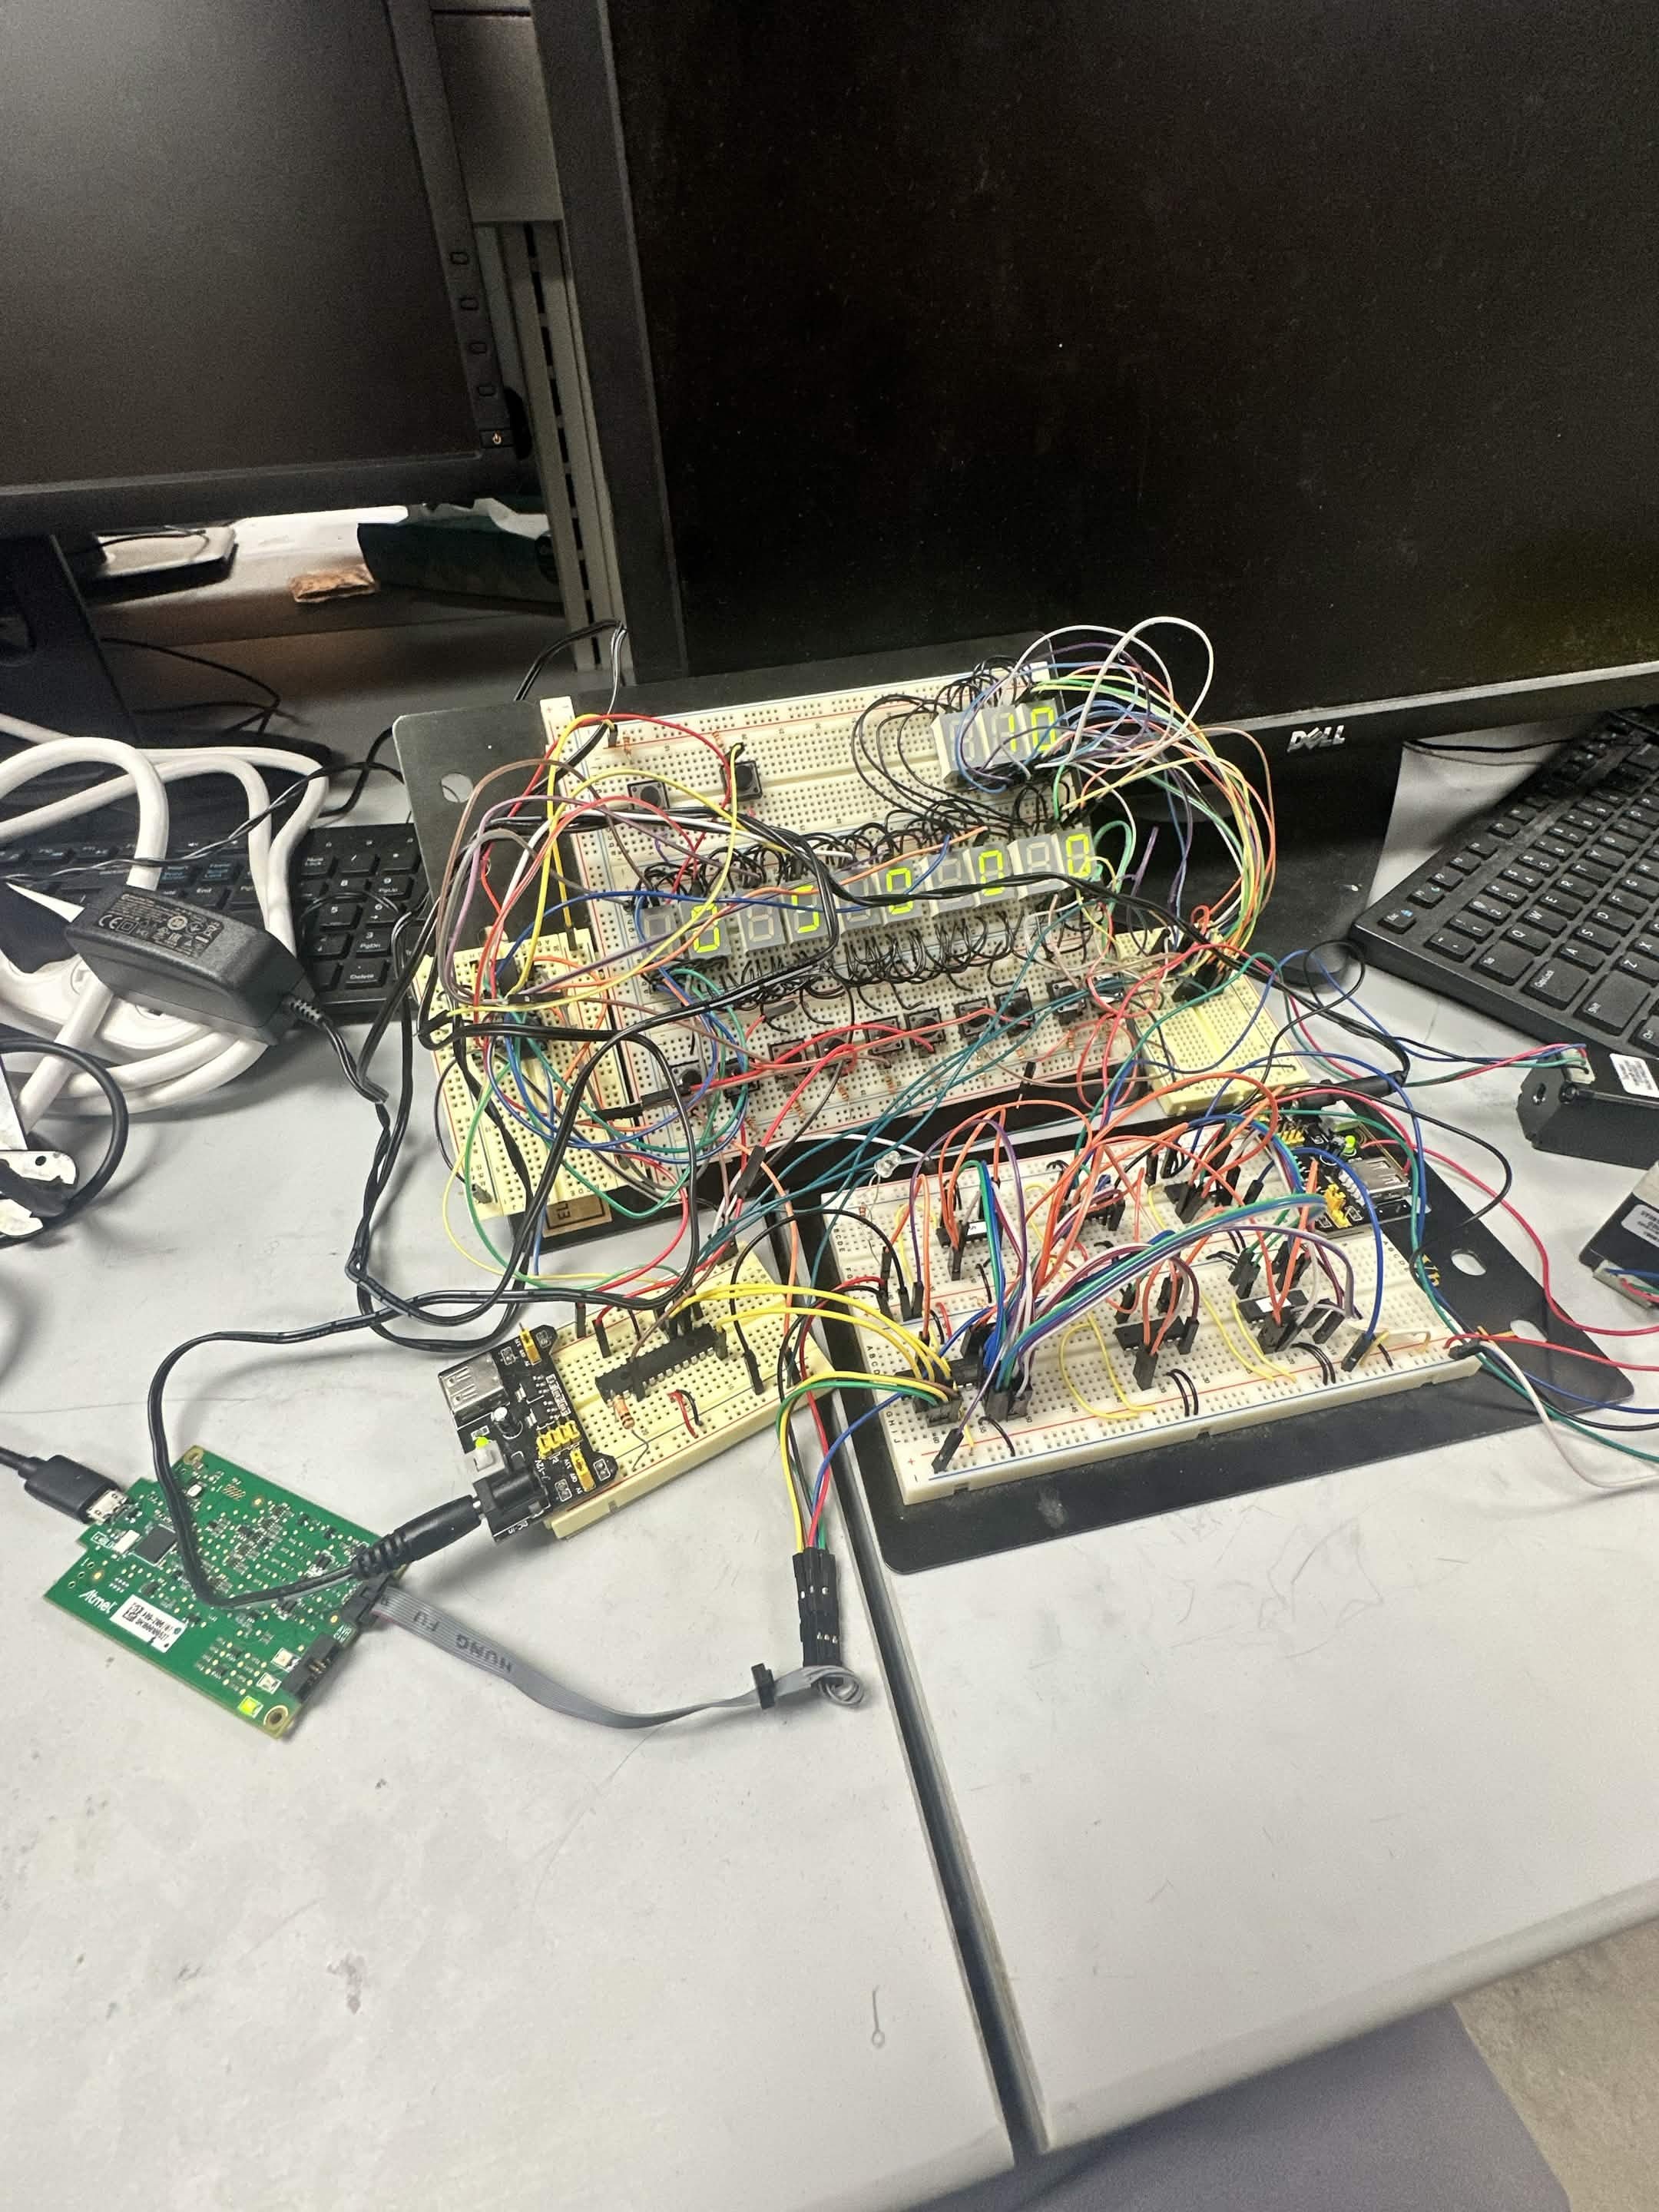
Circuit Design
The system uses serial communication to communicate between a main ATMega, a secondary ATMega and two display controllers. The secondary ATMega is exclusively used to control the motors. In completing this project, I learned about serial communication and how microcontrollers can communicate with eachother on very few pins.
Takeaways
This project helped me develop my understanding and proficiency in mechatronic elements, and developed better practices for creating more complicated circuits. I hope to take this knowledge forward and create better, faster, and more complicated projects in the future. In addition, I learned more about linkage design and translating rotational motion into linear motion seamlessly. The design of the chassis of the system helped refine skills manufacturing skills such as laser cutting and designing 3D-printed parts.
Tuned Mass Damper System
Working in a team of four, we developed an experiment for testing the effectiveness of tuned mass dampers placed on top of buildings in earthquake zones. We tested the damping coefficient of the building with respect to both the weight of the damper as well as the length of the string it was hanging from.
Trials and Tribulations
The initial runs of the shaker table did not work perfectly. The main issue was that the string allowed for too much freedom in the system. My solution was to use two holes through the top of the test building, locking the weight to movement in one direction. This project involved many other issues we had to overcome, such as the motor having too high of impedance to work initially, which we got around by using additional power.
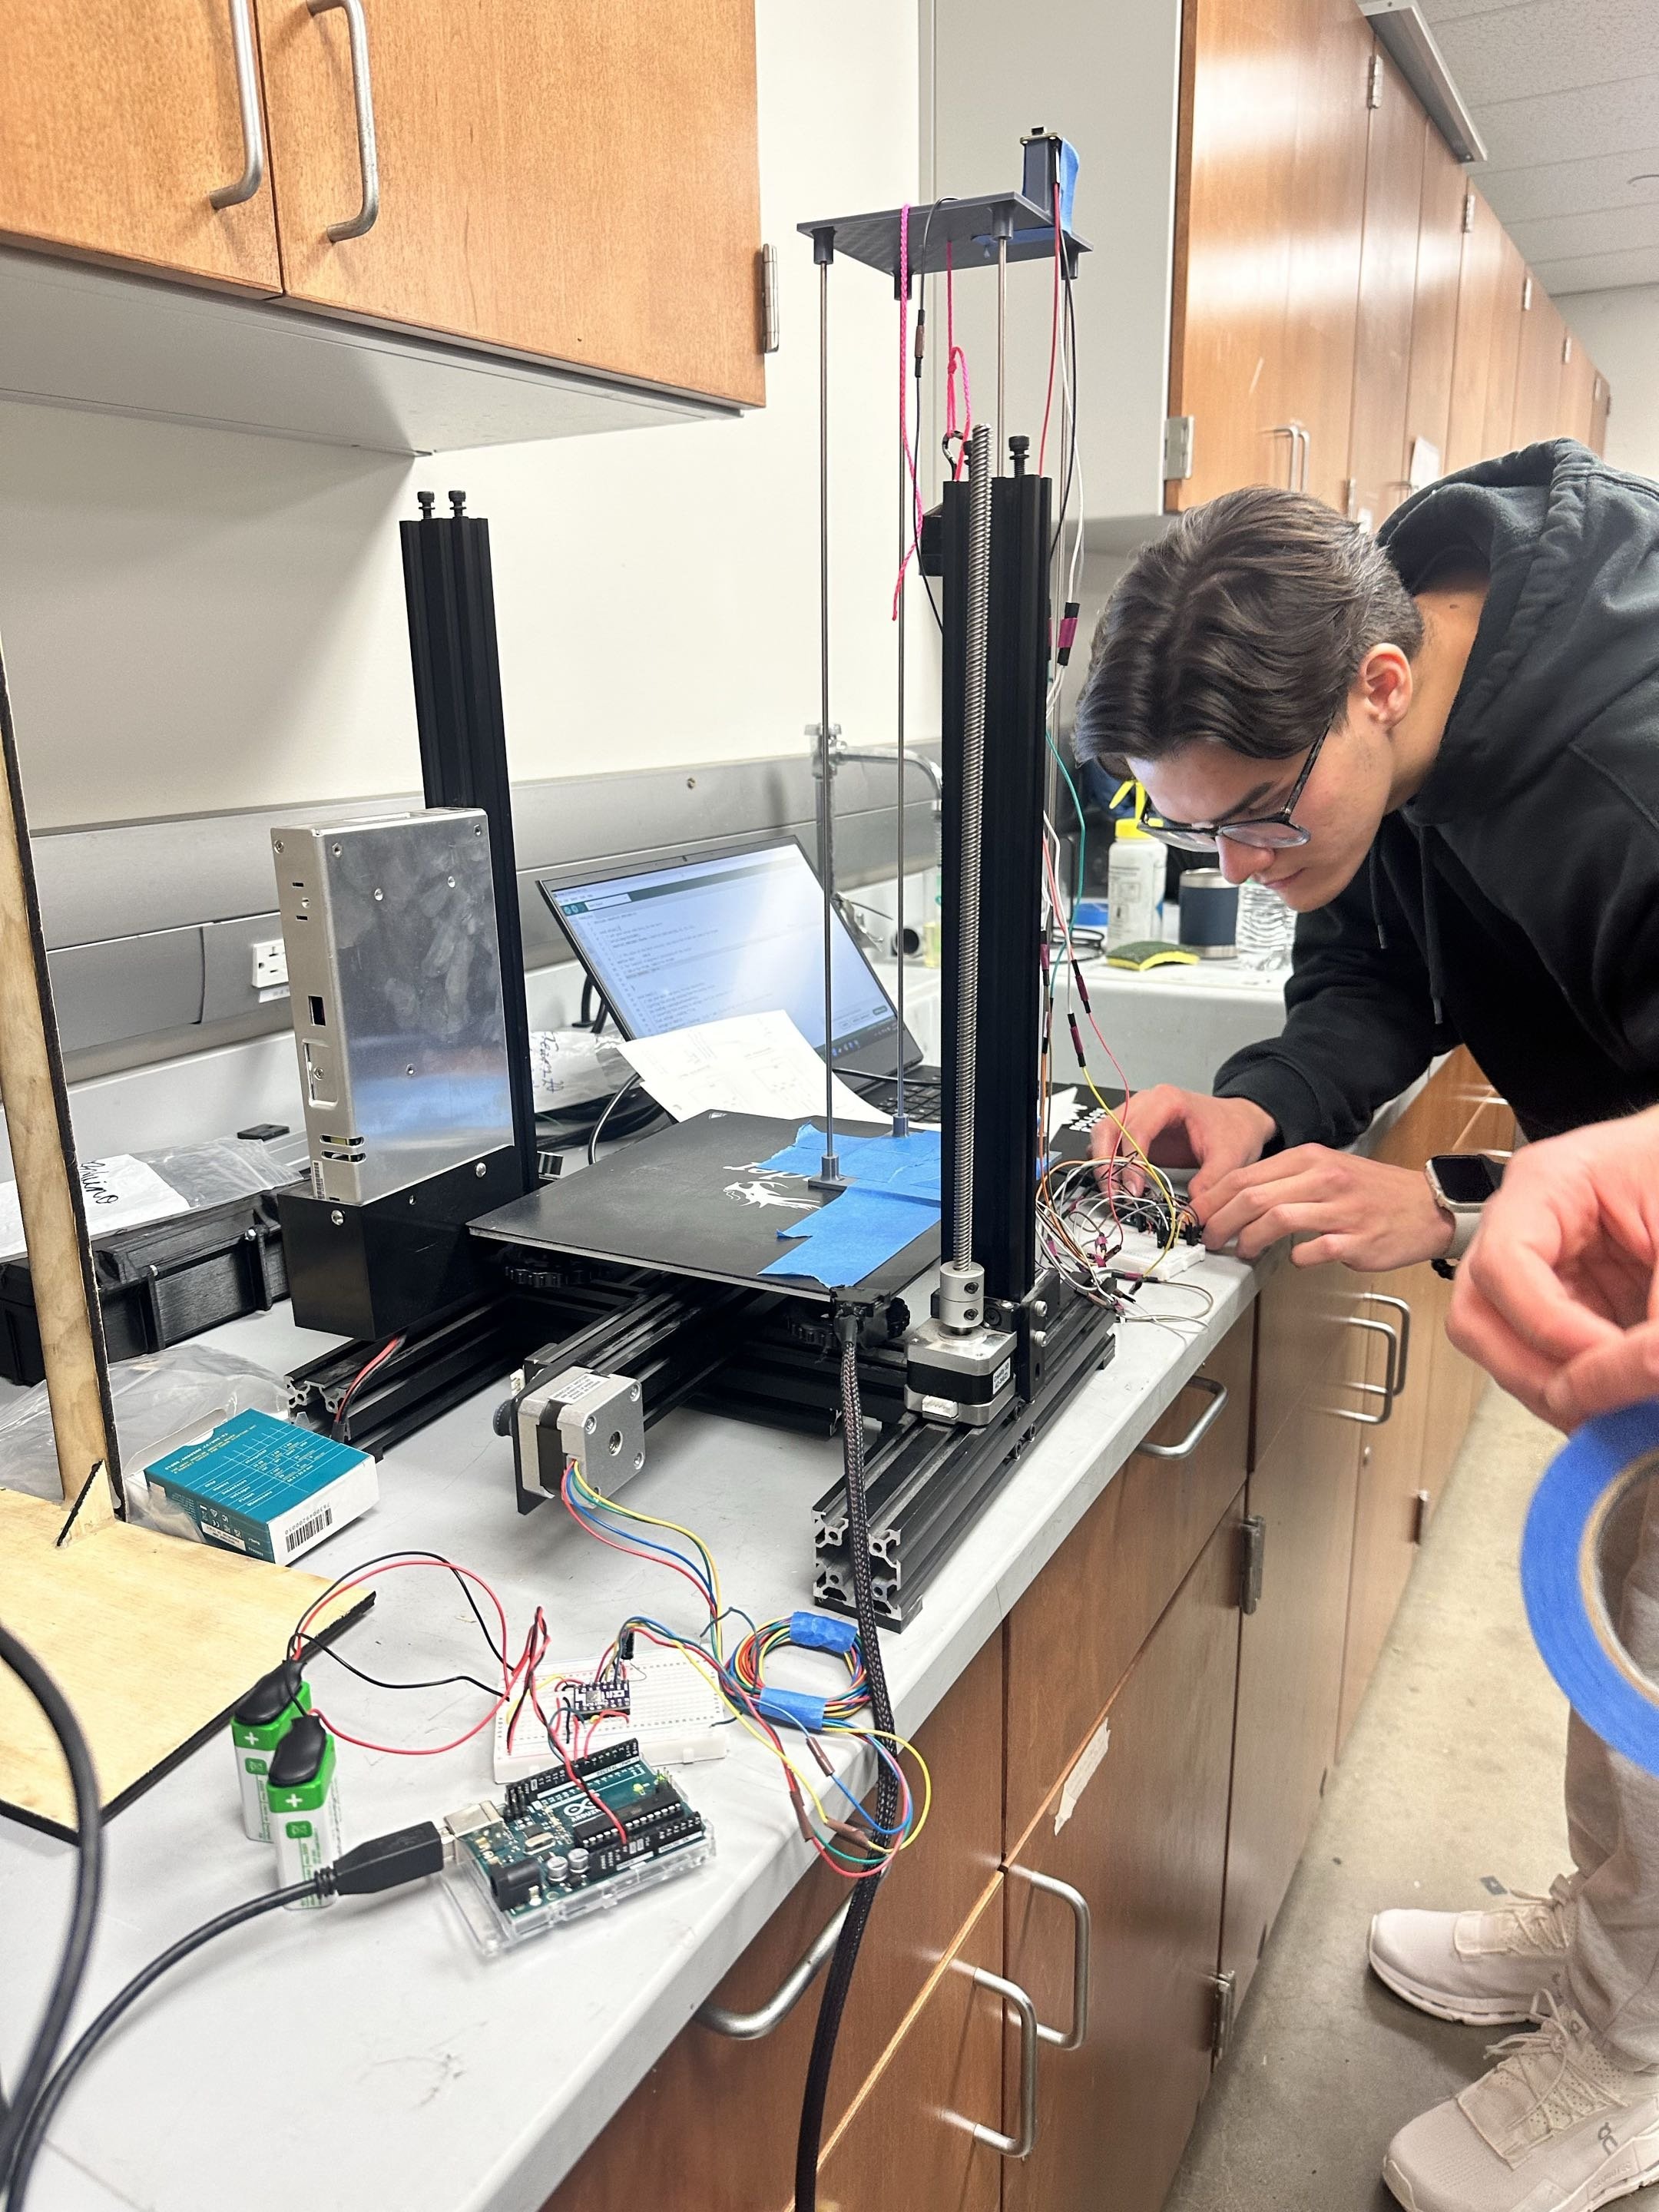
The Shaker Table
Due to budget constraints, we were unable to get our hands on a real vibration table. Instead, we elected to build our own by hijacking the motor on a 3D printer and turning it into a makeshift vibration table. This ended up working perfectly, allowing us to use an Arduino to easily control the vibrations.
The experiment
Our experiment consisted of four strain gauges placed on the tower in a full Wheatstone bridge. Two gauges were placed at the bottom on the rods, and two placed at the top. This allowed us to measure the deformation in the rods and thus how much the structure was moving.
Takeaways
This project taught me a lot about motor control, and was one of my first instances of controlling a stepper motor through a microcontroller. Additionally, I learned about experiment design and how to properly conduct and write documentation on experimentation. Most importantly, I learned a lot of time and budget management during this project, as money was thin and time was not on our side, but we managed to complete everything despite the constraints.
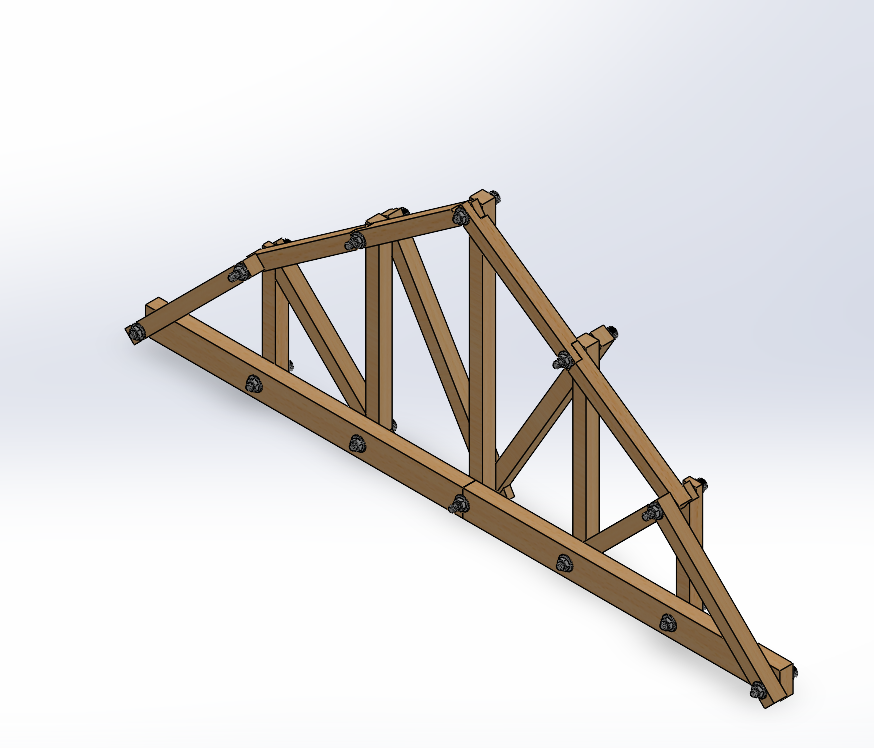
Scale Model Bridge Project
In this project, I worked with a team to create a scale model bridge. The bridge was modeled in CAD and had analysis performed in ANSYS workbench.
We went through many iterations and designs of bridges throughout this project, but ended up settling with the Whipple Truss bridge design for its remarkable strength.
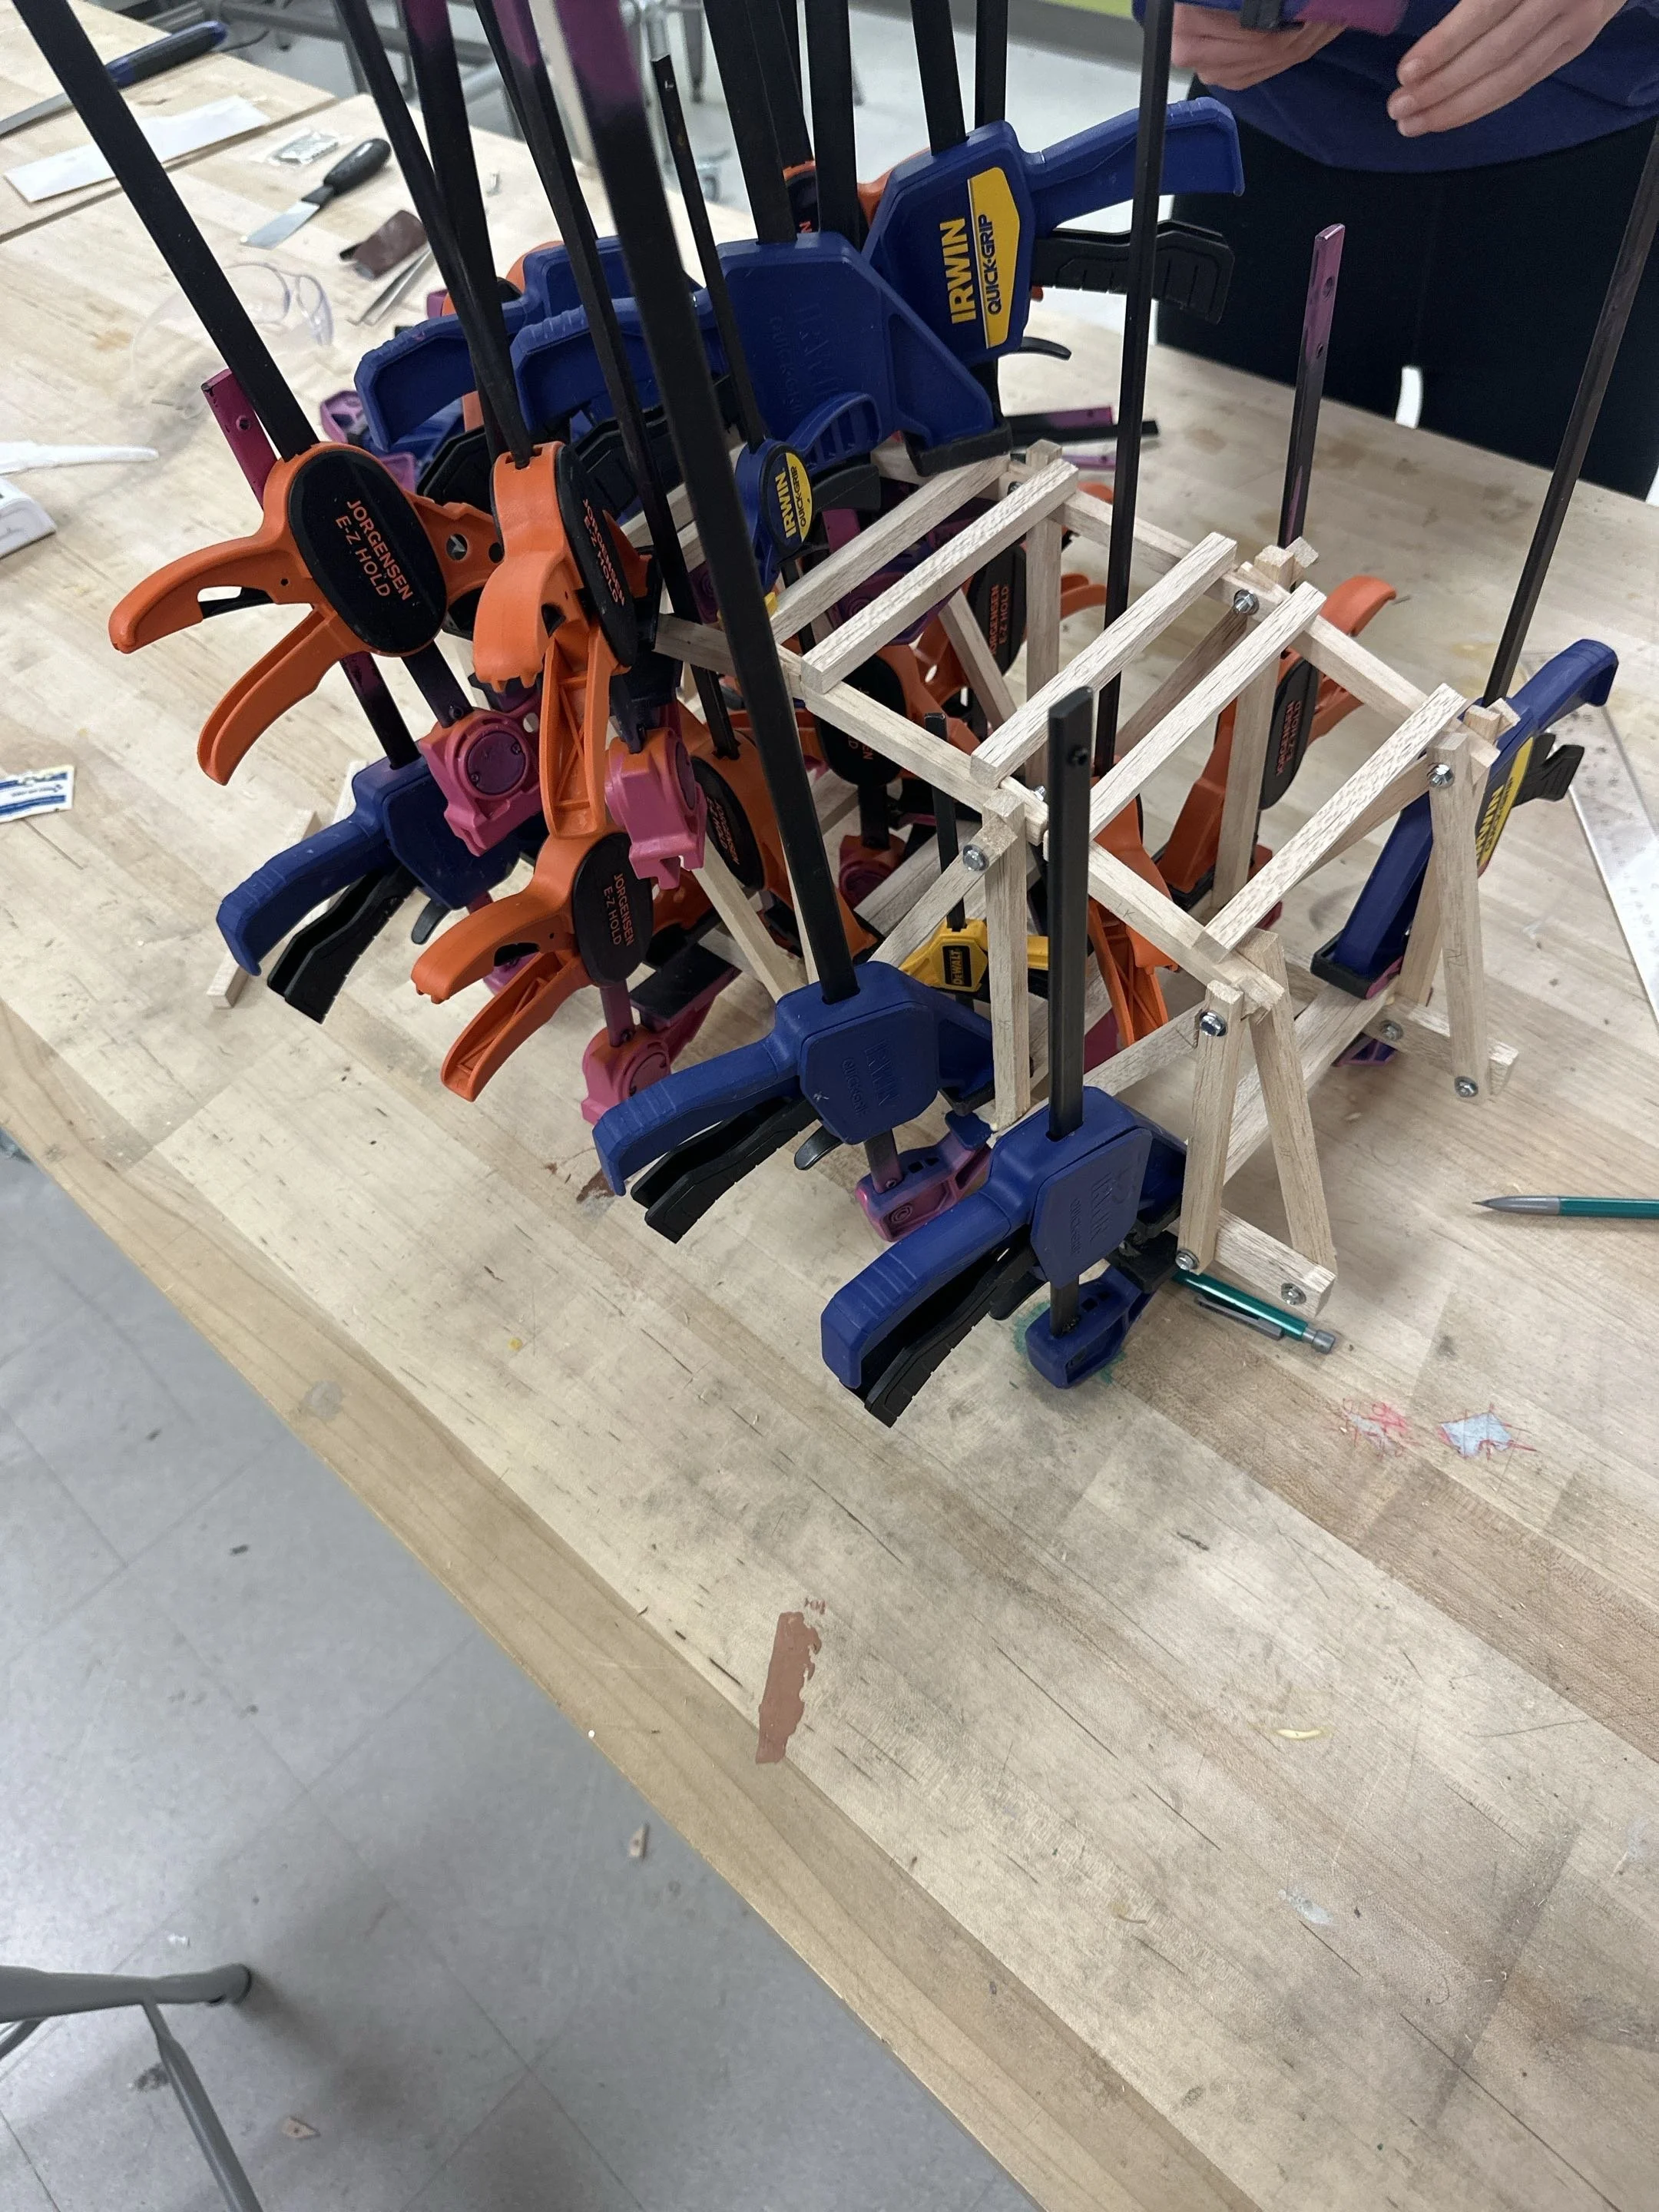
The bridge was made of balsa wood and screws, and weighed approximately 3 pounds, giving a weight to strength ratio of approximately 100.
We created the bridge as an assembly in SolidWorks, which allowed us to test it in ANSYS Workbench and generate simulated breakage results.
Takeaways
This project helped me apply about Solidworks and Workbench in a practical application for the first time. Seeing the completed bridge in a simulation helped put the value of CAD in perspective. Additionally, this project helped me apply knowledge of statics to create and design a bridge that was able to produce significant strength.
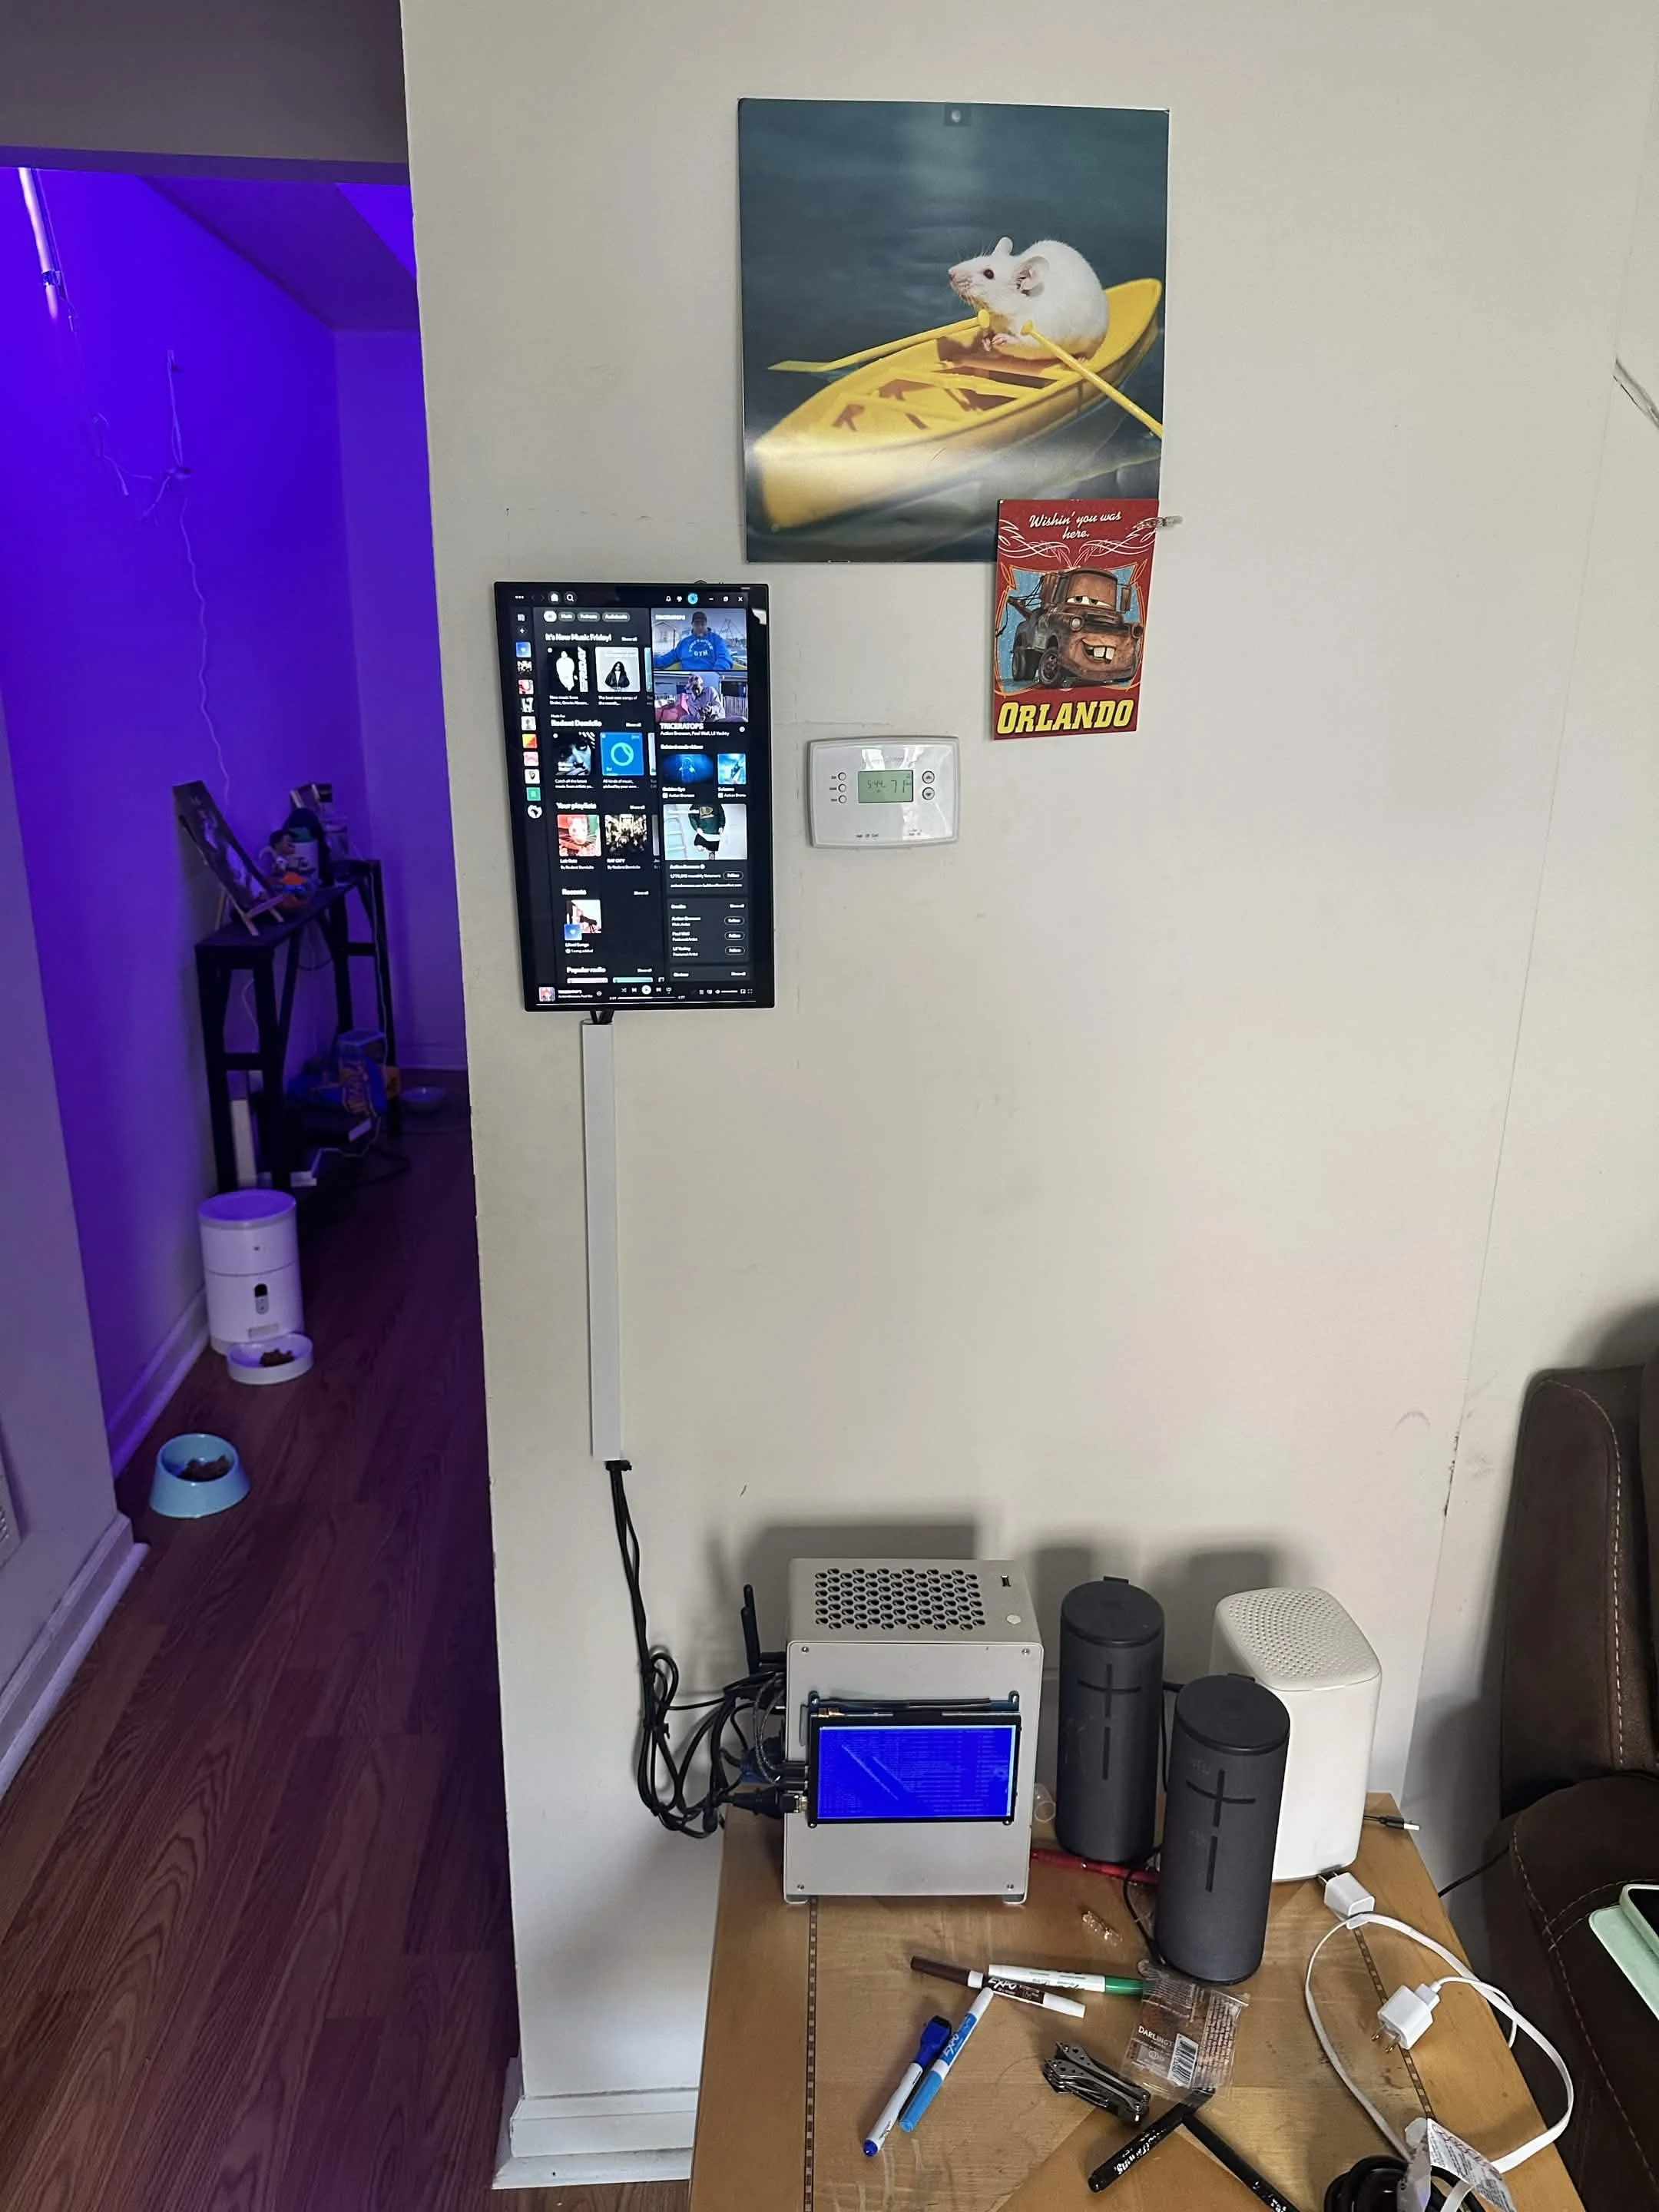
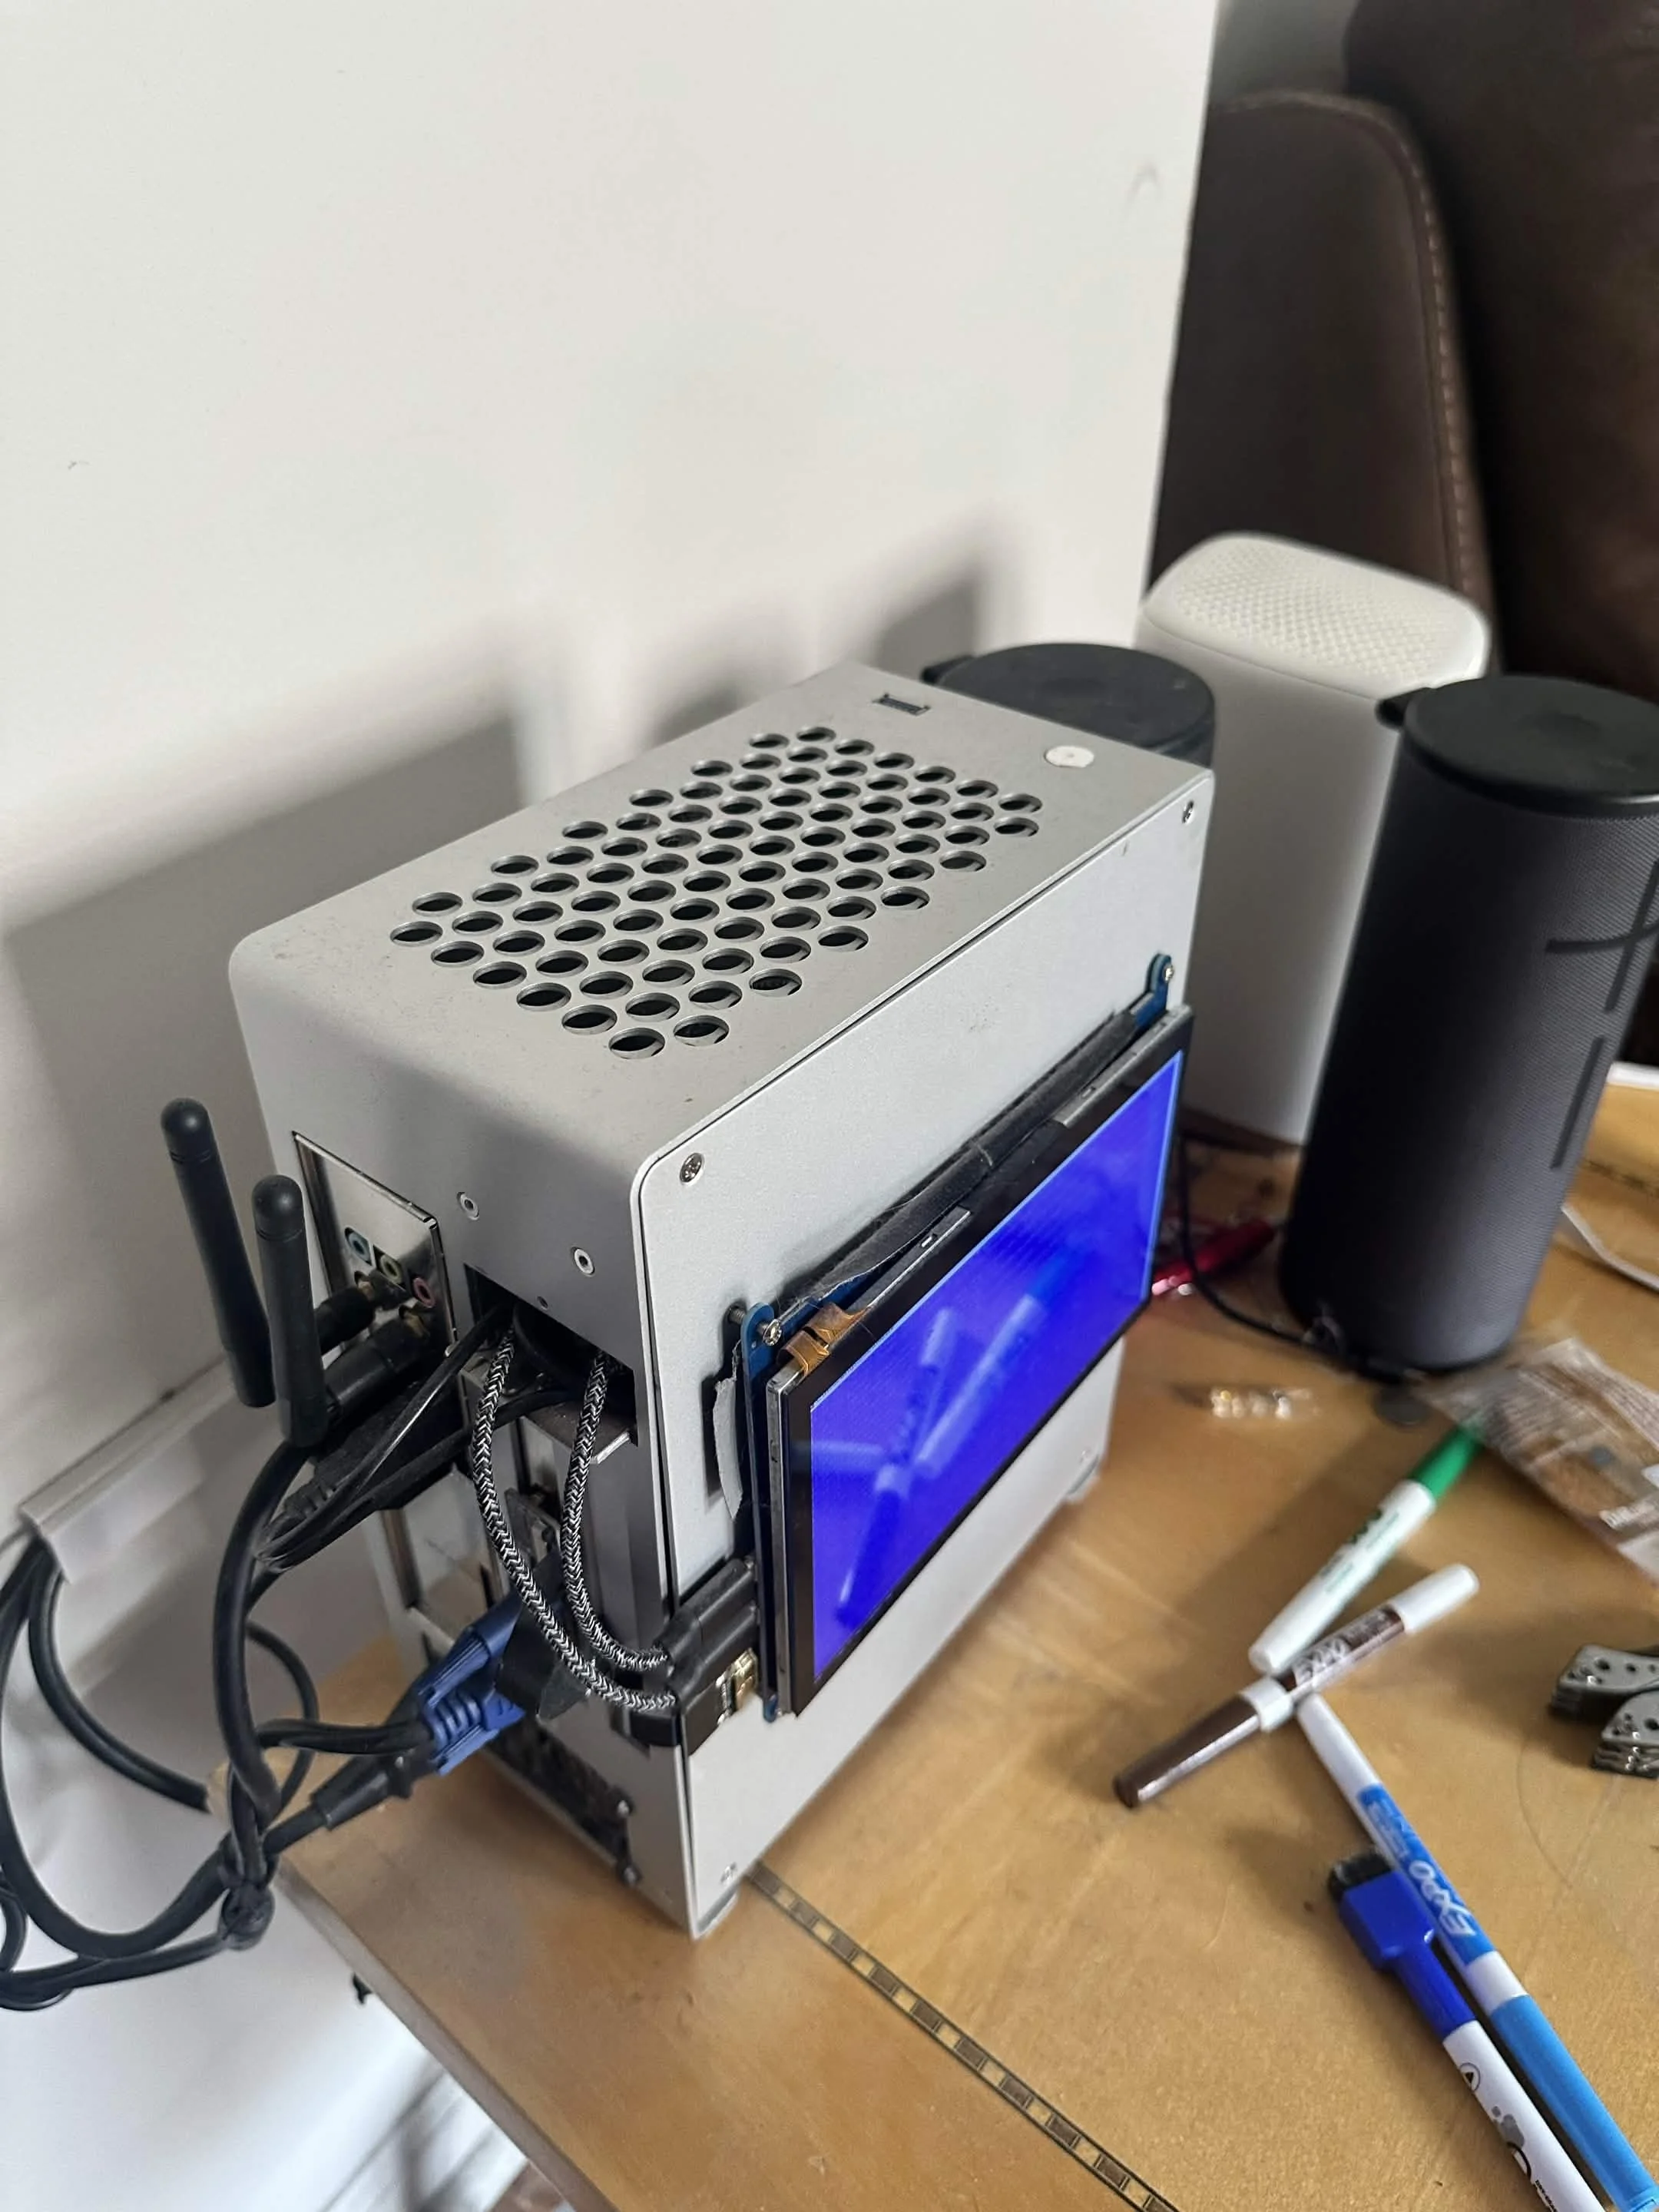
Home Server Computer
My home server computer is a multi-purpose PC set up by my router. From blocking pesky ads to running discord bots, this machine has saved me a lot of trouble.
The PC is a mix of old and new parts. I went with an i3-12100F due to its strong single-core performance (at the time of building) with 32 GB of memory. On the other hand, since the machine doesn’t need to handle top-of-the-line gaming applications, the GPU is almost as old as I am (Radeon HD 8350).
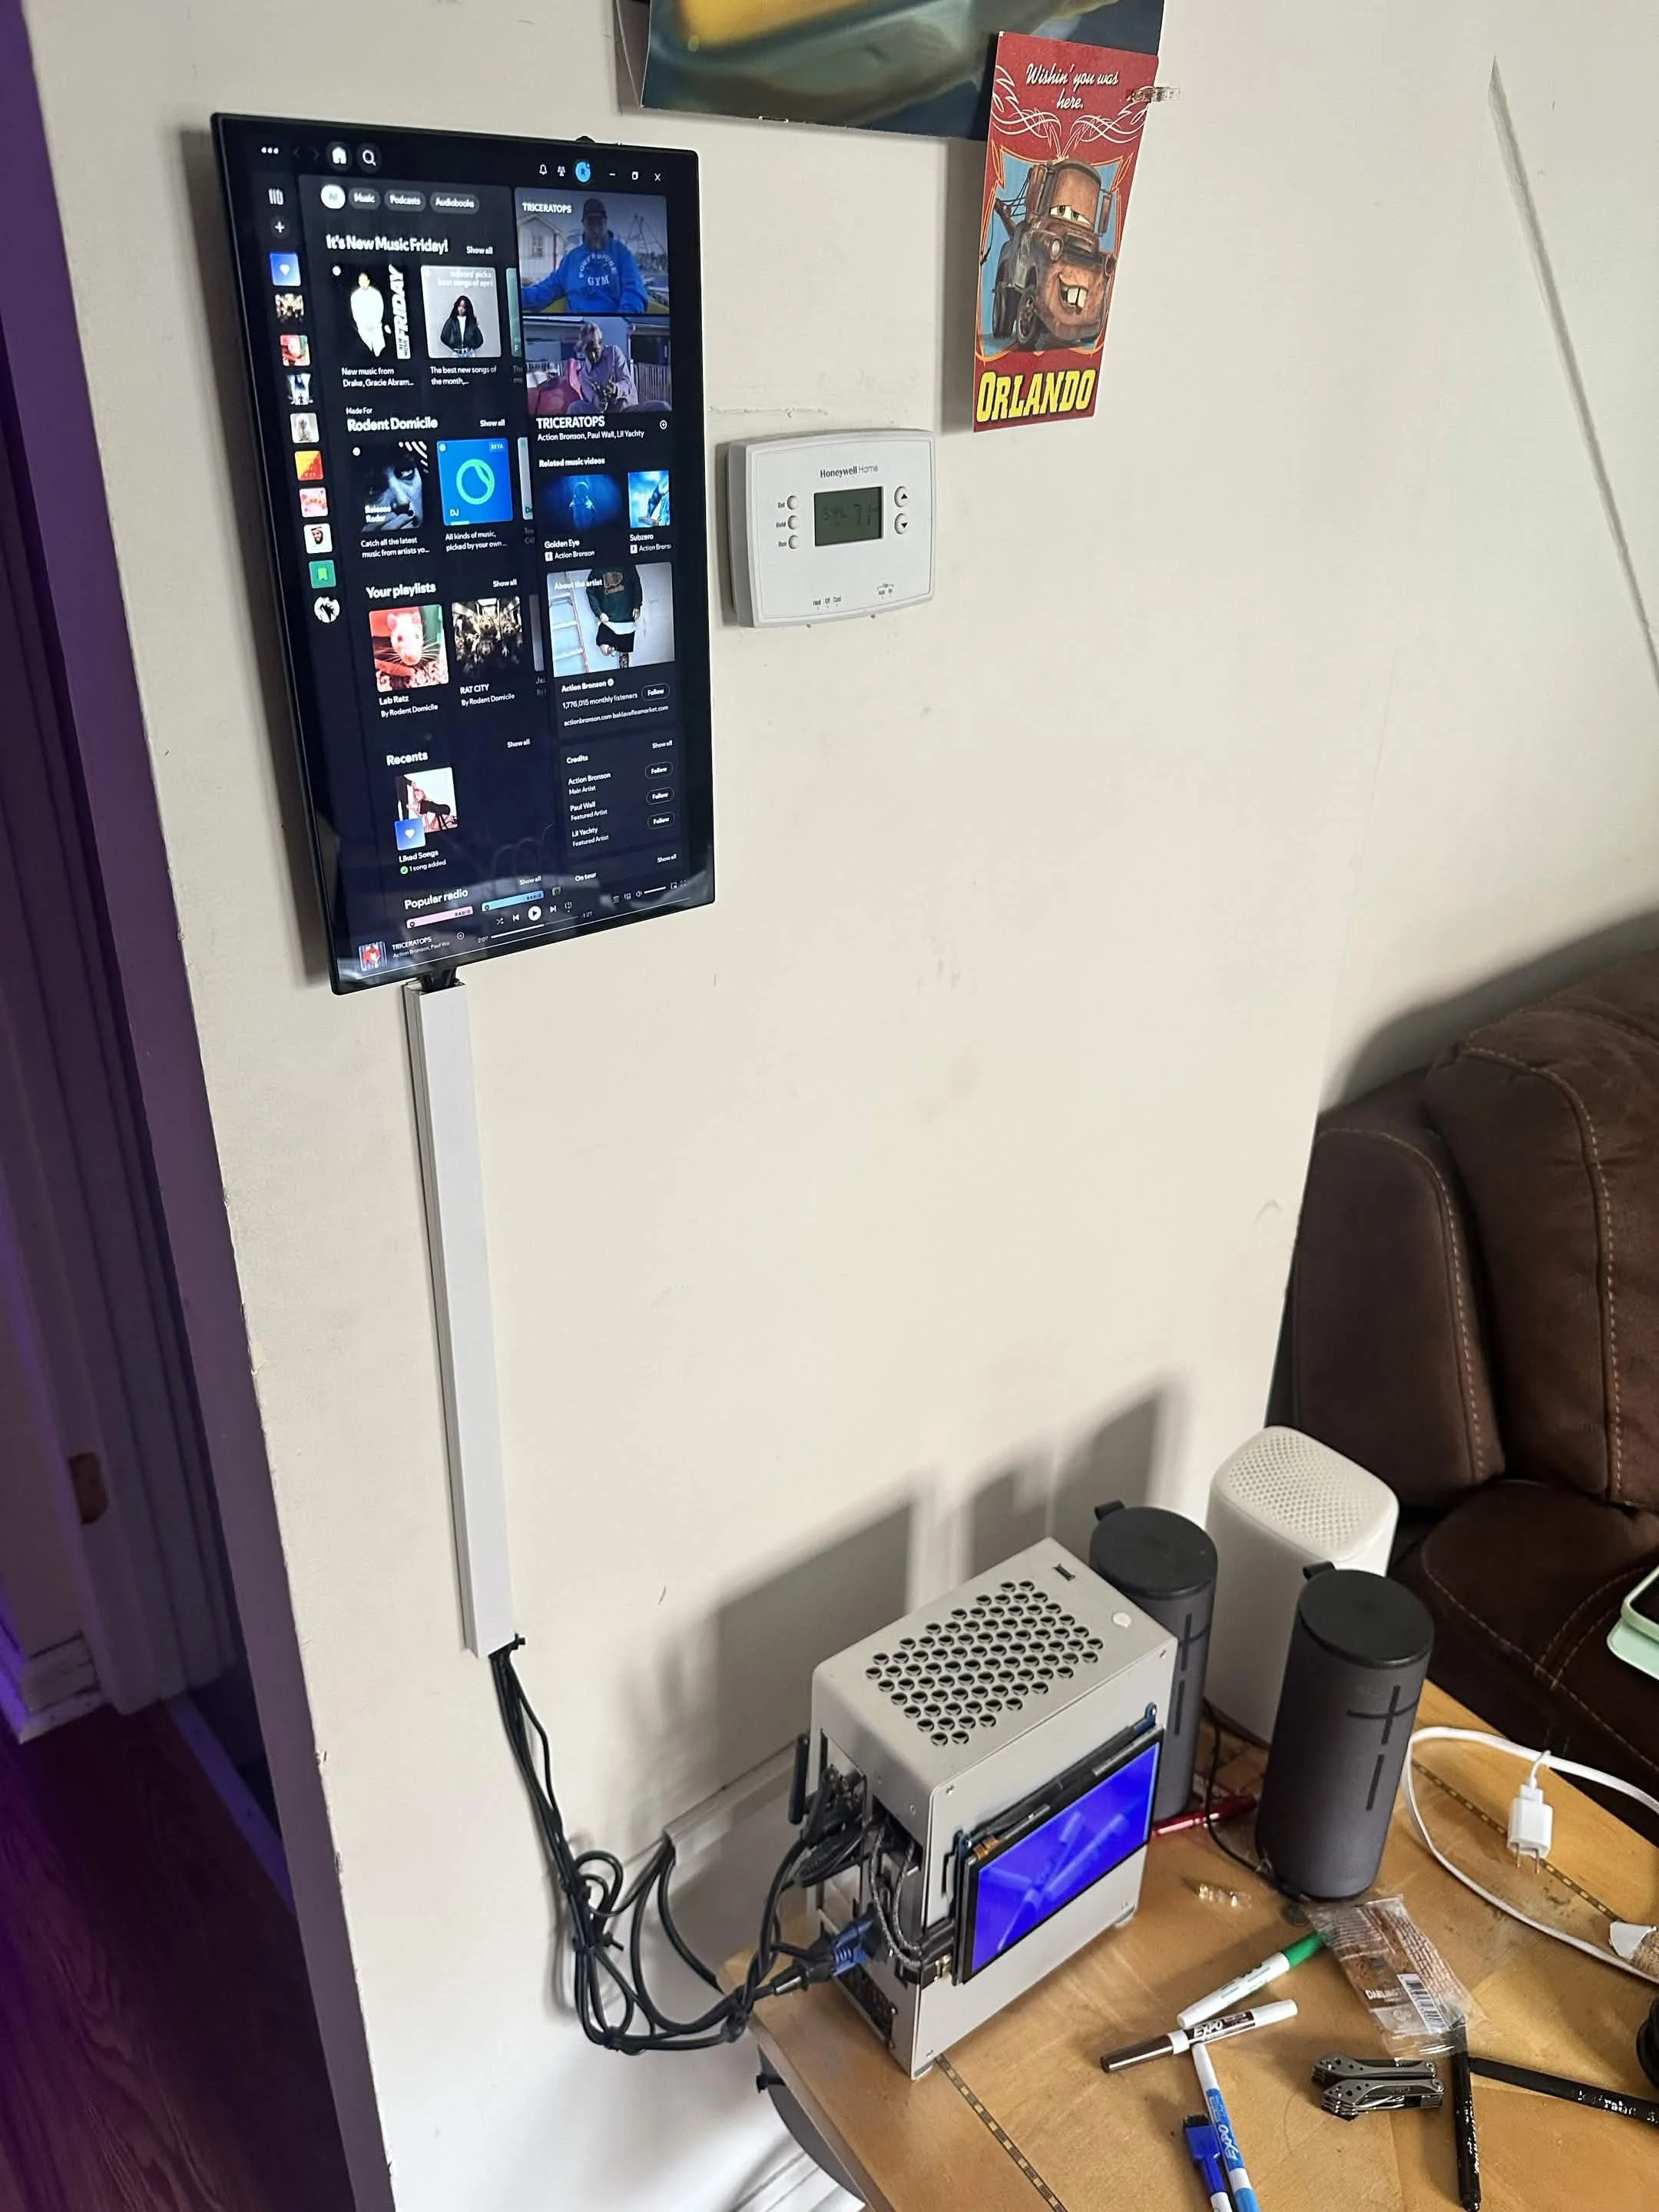
Applications
This computer is used for blocking ads through a firewall, running Minecraft/Factorio/other game dedicated servers, running a Discord music bot, as well as as a jukebox. The top screen is a touchscreen, and when connected to the two speakers shown, the screen becomes the life of any party, letting anyone queue their favorite songs.